This section details how to create, edit, and delete trips in T&E Express. This configuration allows you to register, manage, and link user trips to expense reports, ensuring each expense can be correctly associated with the corresponding trip.
If this configuration is not available, please contact the T&E Express team.
Trip: This field is available in the expense form.
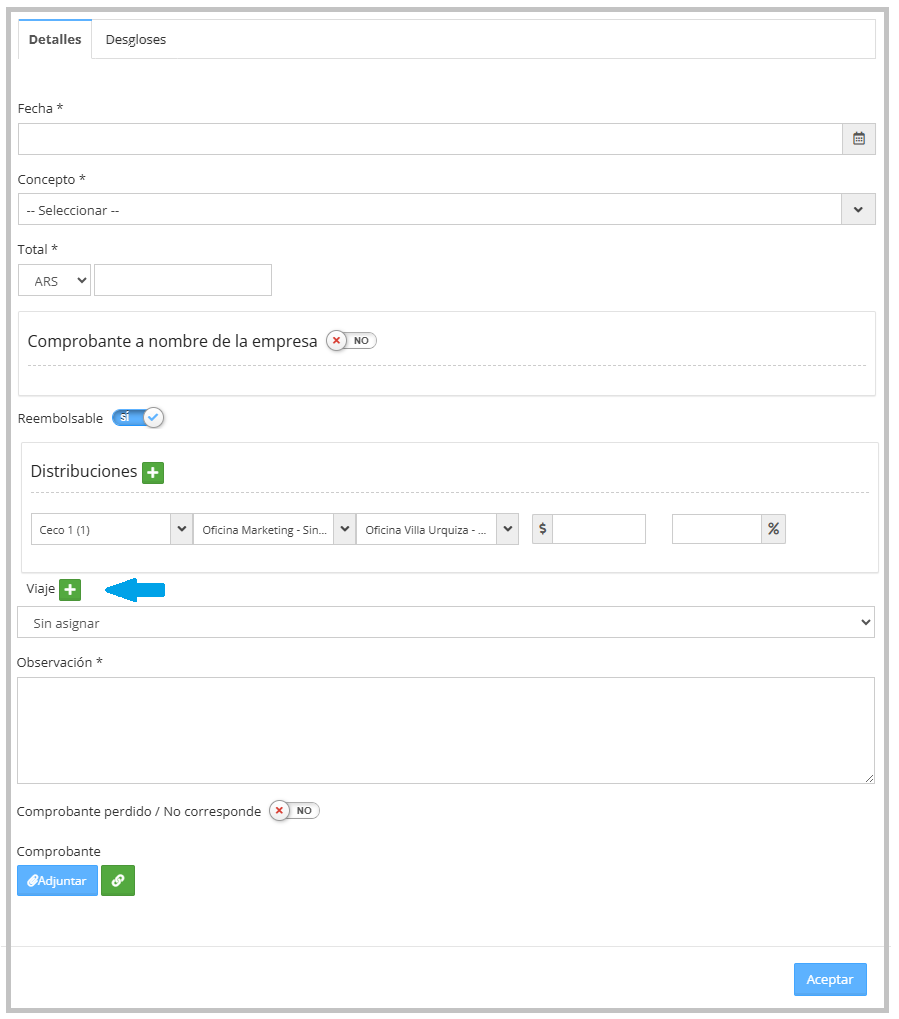
To create trips, click the + button in the trip field.

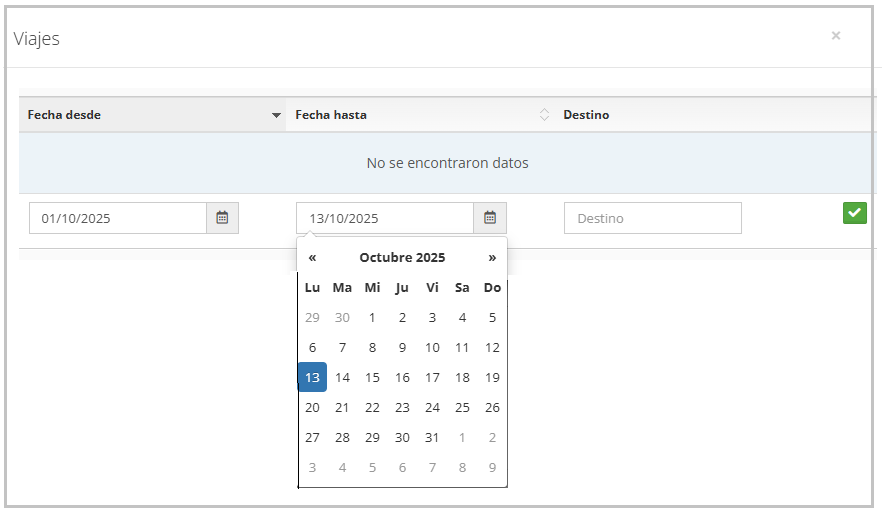
A screen will open where the following fields must be filled in:
Start Date: trip start date.
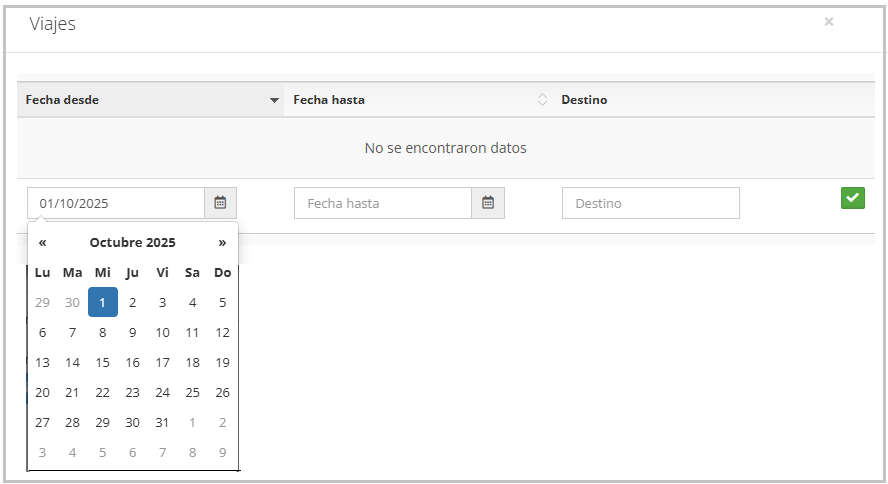
End Date: trip end date.
Destination: Location of the trip.
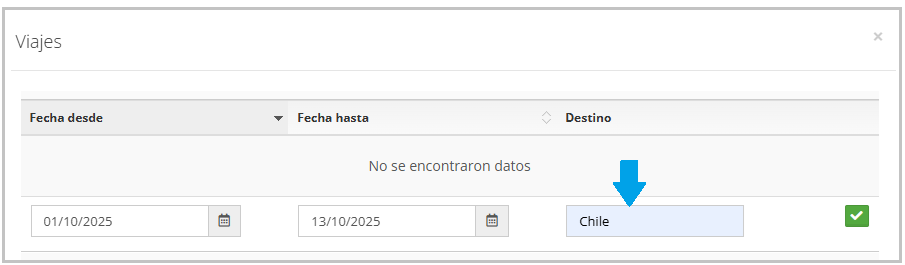
Once the fields are completed, click on the icon ✔ to add the trip.
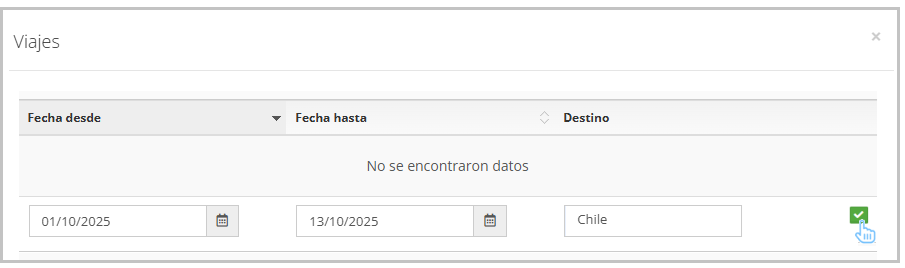
The registered trips will be displayed as follows.
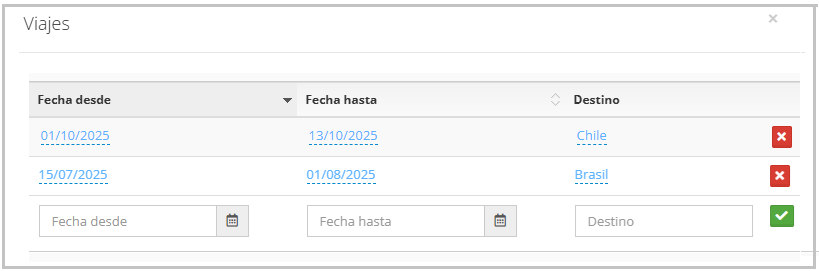
Previously registered trips can be deleted from this screen by clicking on ❌ .
It is also possible to modify the date or destination by clicking on them.
To close the trip screen, press the ❌ located in the upper right corner.
When registering a new expense and filling the date, the system will automatically list the corresponding trip within that date range
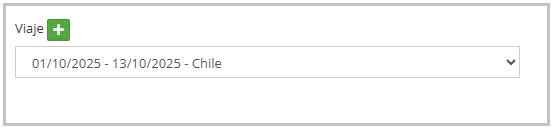
Make sure the system has automatically associated the correct trip.
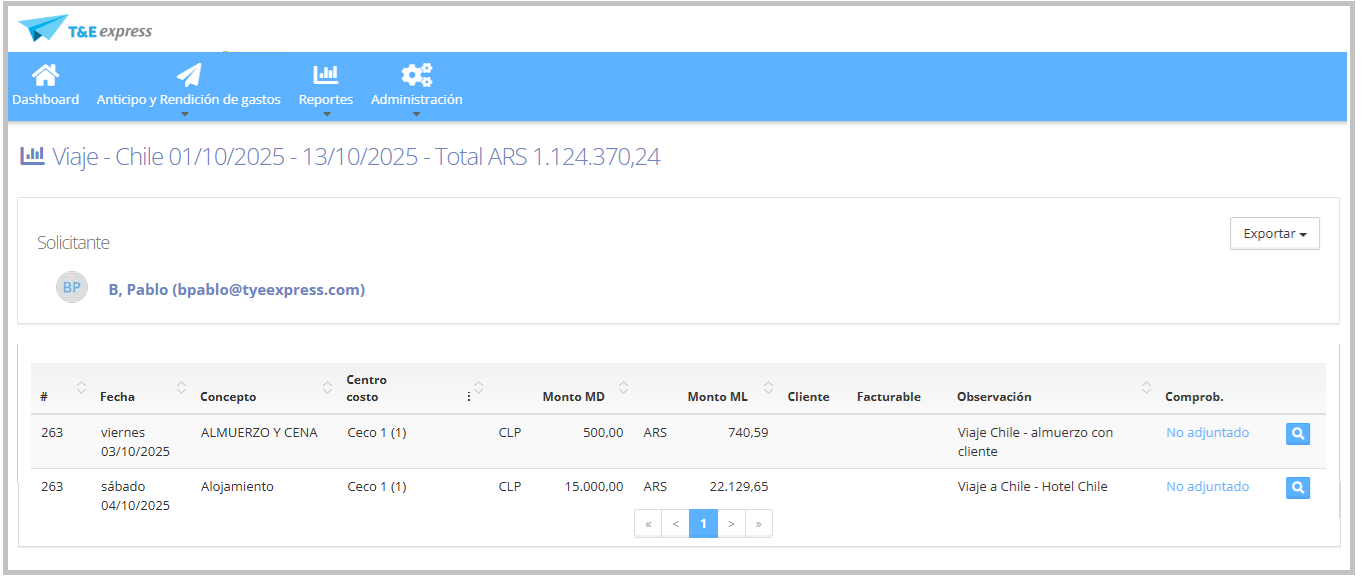
When submitting the expense report, the system will categorize and group the expenses by each registered trip.
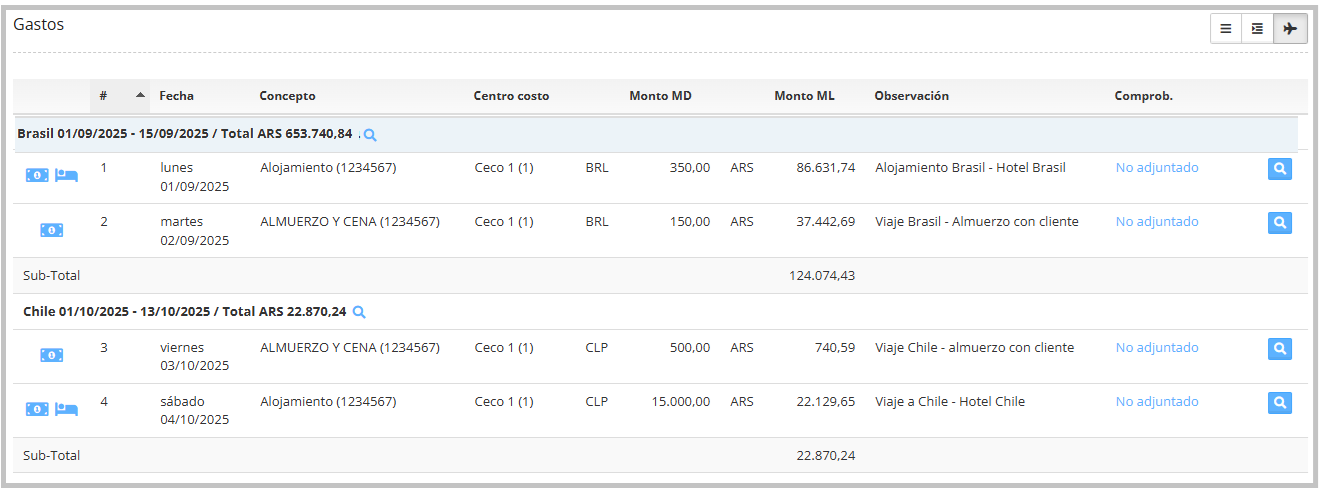
On the left side, next to the destination and trip dates, there will be a magnifying glass icon that, when clicked, will redirect you to the following screen where you will see all expenses related to the selected trip.
For more information on how to create reports, access the Create report guide.