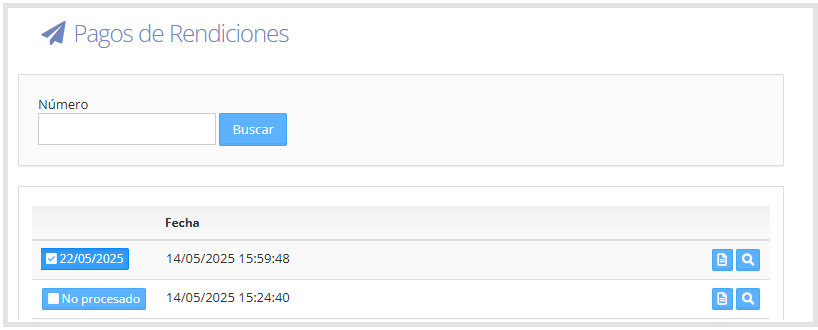
Below is the process for doing it manually.
The user with the Finance or Treasury profile is responsible for downloading the file that is then imported into the ERP. This file contains the information needed to post the expense report expenses to the general ledger.
Note: If your company needs a file with a specific model to be able to import the information into your ERP without having to modify the downloaded file, contact T&E Express support.
Accounting Entries: To access the accounting entries, go to Cash Advances and Expense Reports. From here you can download the accounting entries for both Cash Advances and Expense Reports individually, as shown in the following image.

T&E Express generates one file for each group of expense reports that has moved to "Reported" status, and for each cash advance that has moved to "To Report" status.
When you click on the required Accounting Entry, the following screen will open.
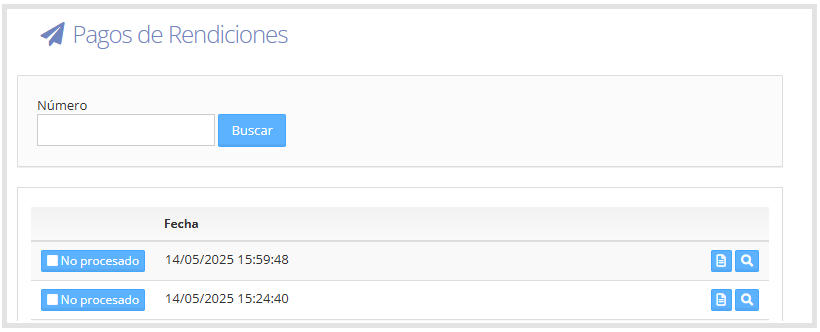
At the top left, we have the search bar, which lets us search by expense report or cash advance number. Once you enter the number, the system shows the date on which that expense report or cash advance is found, as shown below.
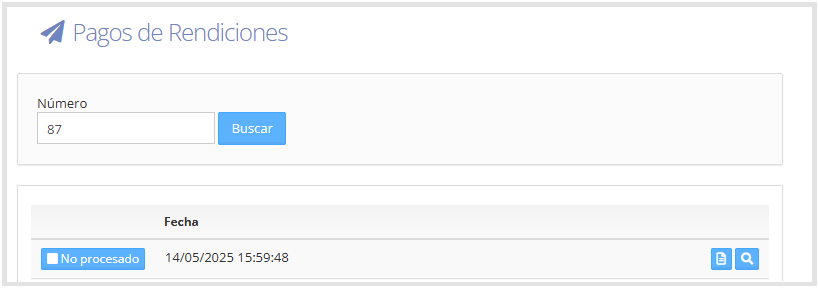
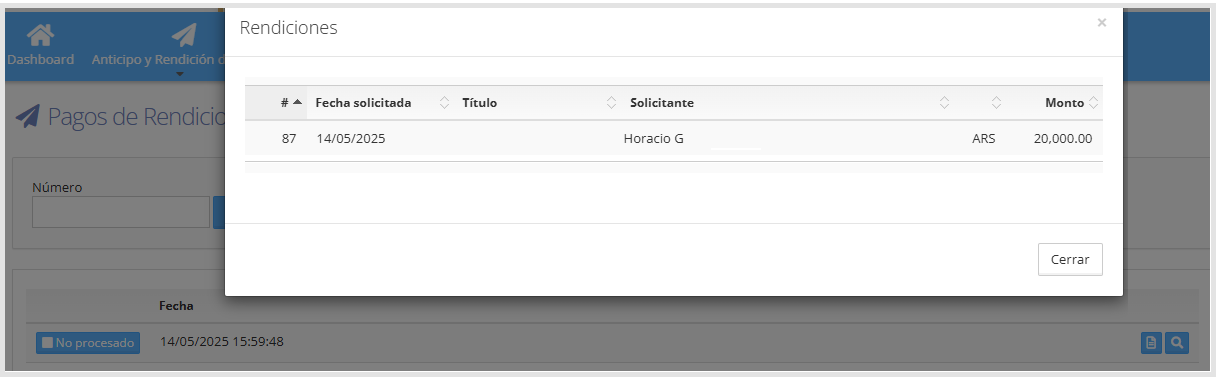
On the right side of each Accounting Entry, we have two icons:
Download: downloads the Accounting Entry, in the required format.
Magnifying glass: allows a preview.
Once the file has been downloaded, it can be marked as Processed to identify the files that have already been imported into the ERP.
On the left side of each Accounting Entry, we have the "Not Processed" option, as shown below.
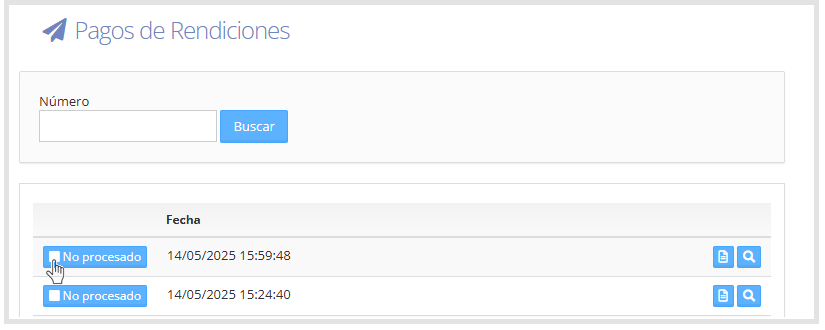
When clicking on "Not Processed", an alert will appear indicating that the status will be changed, as shown below.
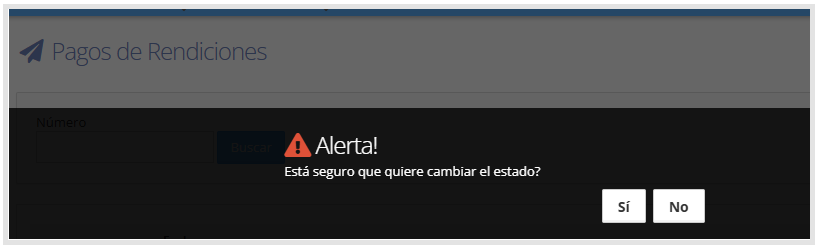
When clicking on "Not Processed," an alert will appear indicating that the status will be changed, as shown below.