Taxes: To access taxes, go to Admin > Taxes
When you enter the Taxes section, two main blocks are presented:
It consists of a series of settings that define the module's behavior.
The use of each one is detailed below:
Enable taxes: Activates the tax module configuration.
When this option is enabled, the rest of the settings in the taxes block are enabled.

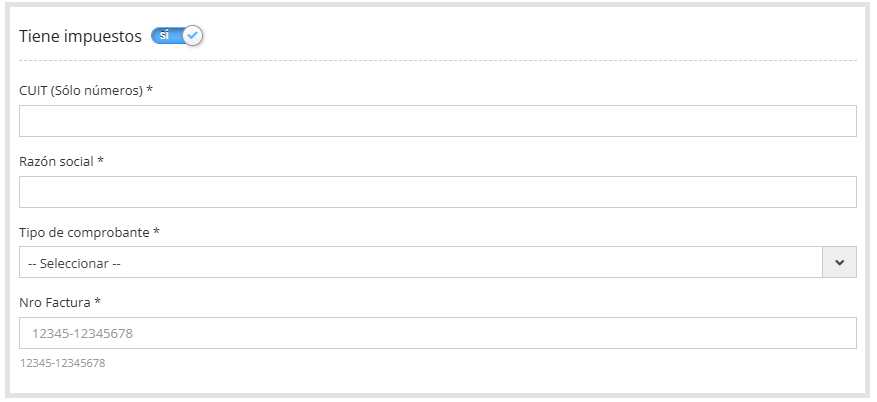
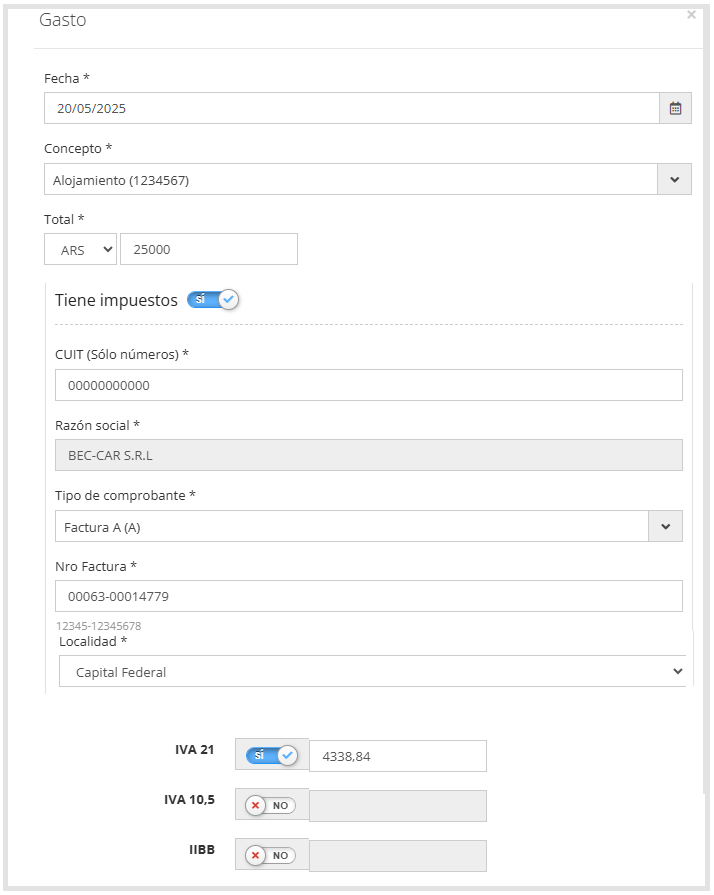
Enable user entry: When this option is activated, a checkbox will appear in the expense form for the user to check if the expense includes tax. The tax details must then be entered in the form.
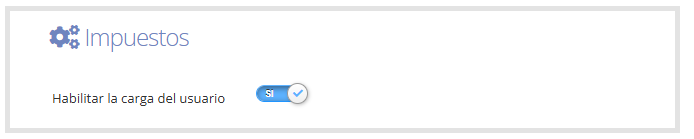
As shown below.

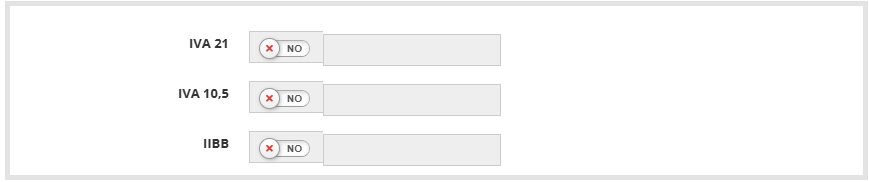
Enable tax amount entry for the user: When this option is activated, it allows the user to indicate the type of tax they want to enter in the expense form.
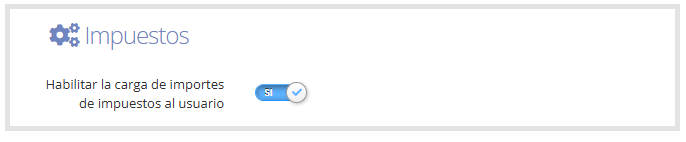
As shown in the following image.
Show box open by default: If enabled, the taxes section is displayed expanded when entering the expense form, with the option to manually hide it if not needed.
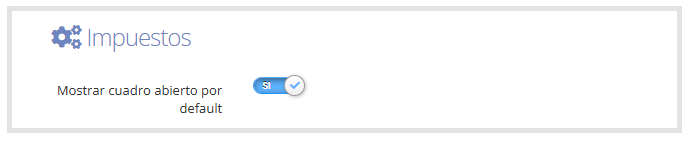
The expense form is displayed as follows.
Auto-fill selected tax value: When this option is activated, upon selecting the tax type, the system will automatically fill in the corresponding tax value in the form.
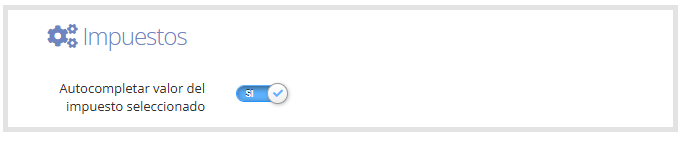
As shown in the following image.
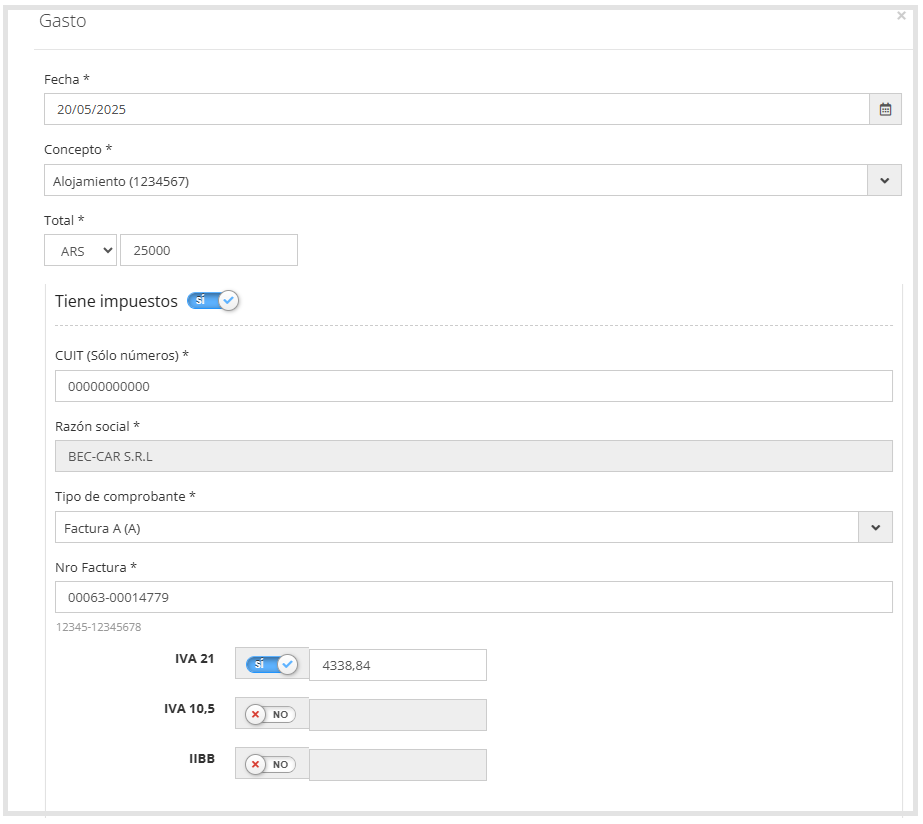
When it's a foreign CUIT, the receipt format must be 12345-12345678: Applies specific validation for foreign CUITs, enforcing that format in the receipt number.

Show location field: When this option is enabled, a location selector is added to the taxes section.
As shown below.
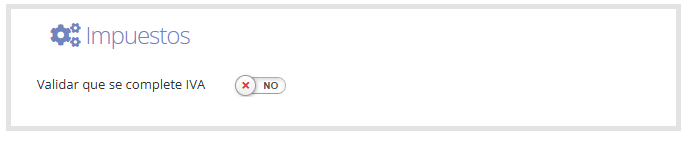
Validate that VAT is completed: If enabled, the system will require the VAT field to be completed only when the "Receipt in the company's name" option is selected and a receipt type with associated taxes is chosen.
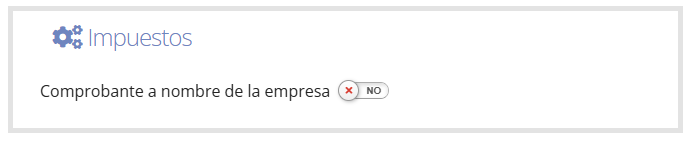
Alternative title text: Defines the text that will appear as the title in the taxes section of the expense form.

As shown below.
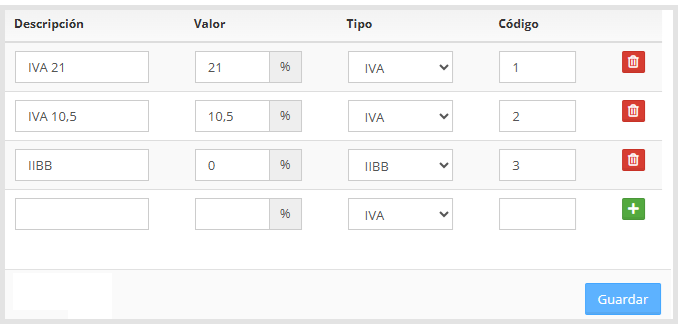
After completing the required settings, you must fill in the list of tax types. For each one, the following fields must be completed:
Description: Tax detail.
Value: Percentage applied.
Type: Tax type selection.
Code: Identifying code.
Once the fields are complete, click the icon

to add the tax to the list.
When finished, click "Save" so the changes are applied correctly.
As shown below.
The configuration of the receipt types that will be available when entering expenses in an expense report is detailed below.
Go to Admin > Taxes > Receipt Types.
When you enter, we'll see the following screen.

We click on the

icon, where the following fields will appear that we must complete.
Fields marked with (*) are required.
Code: Internal identifier.
Description: Name of the receipt type.
Letter: Letter corresponding to the receipt.
Breaks out taxes: If enabled, the system will treat this receipt as one that includes taxes.
As shown in the following image.
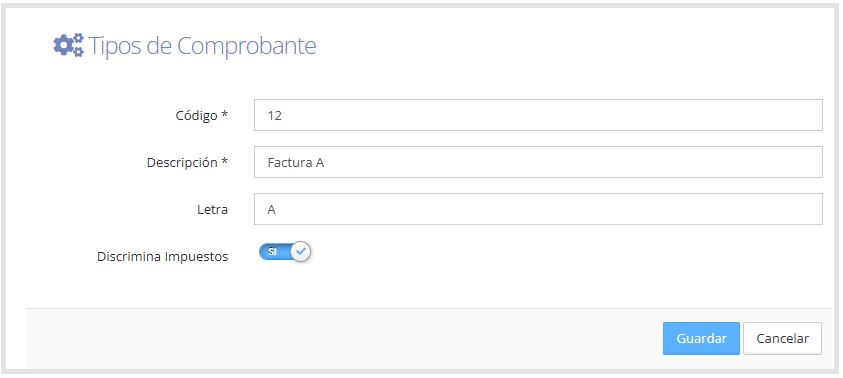
When you click "Save," the system will redirect us to the receipt types home screen, where we'll see the receipt types we've entered.
As shown below.
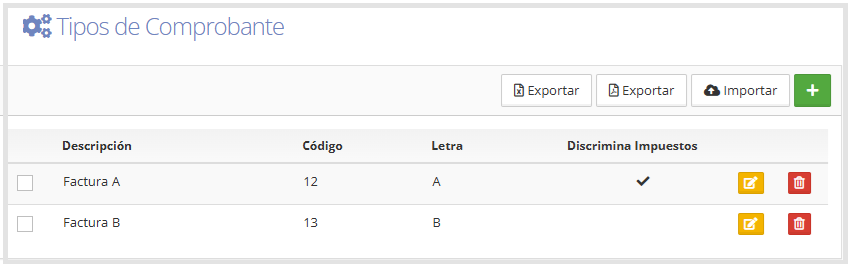
In the upper right corner of the screen, you'll find a series of buttons that let you perform different actions.
Export: downloads the receipt types information in Excel or PDF format.
Import: lets you upload a file in Excel (.xlsx) format.
Clicking this button opens a window where you can:
Select the file to import from your computer.
Download the corresponding template file from T&E Express.
Confirm the upload with the Import button or cancel it.
On the right side of each receipt type, we'll find the following icons:
Edit

Allows you to edit the receipt type information.
Delete

Allows you to delete a specific receipt type.
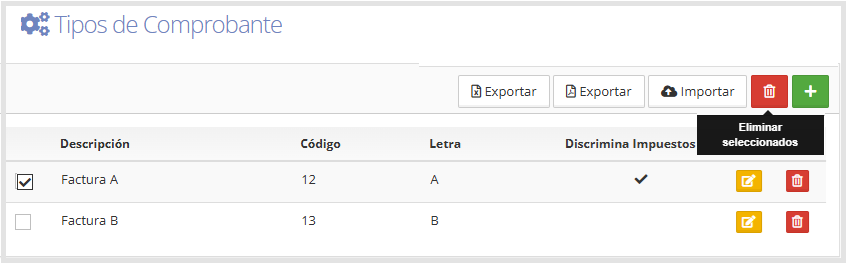
If you need to delete more than one receipt type, you can do it in bulk:
Check the boxes to the left of the receipt types.
Once you select at least one, the Delete icon will be enabled in the upper right corner of the screen.
As shown below.