Category: go to Admin > Km rate > Category.
From this section you'll be able to create the categories that will be assigned to users.
When you enter, the following screen will be displayed:
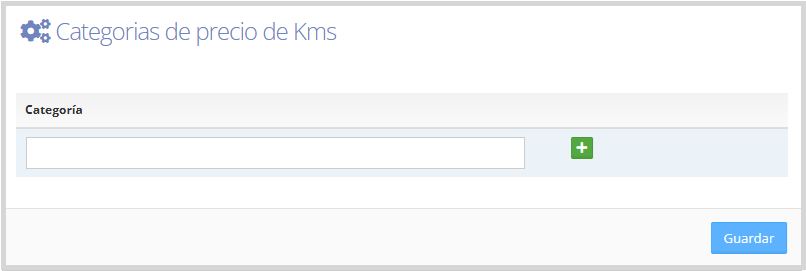
Enter the category name, click the icon

to add it and then save; on the right side we have the following icons to create or delete categories, as shown in the image.
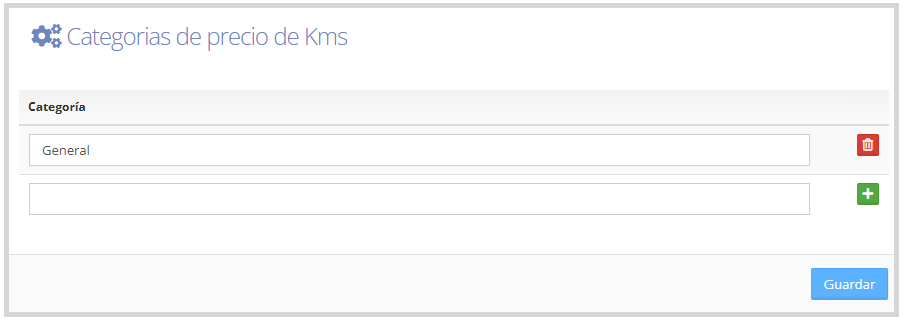
Km rate: Once the category has been created, we'll go to Admin > Km rate > Prices.
When we enter we'll see the following screen; we click on the icon

located on the right side of the screen to add a price, as shown below.
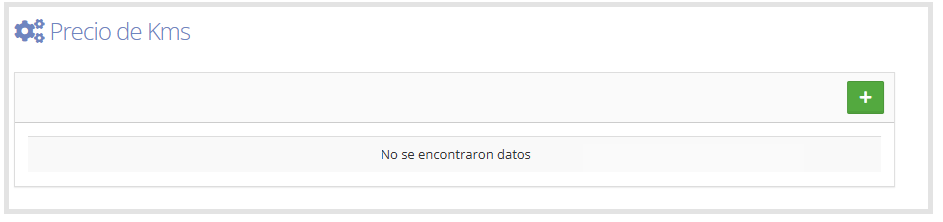
When you click the icon

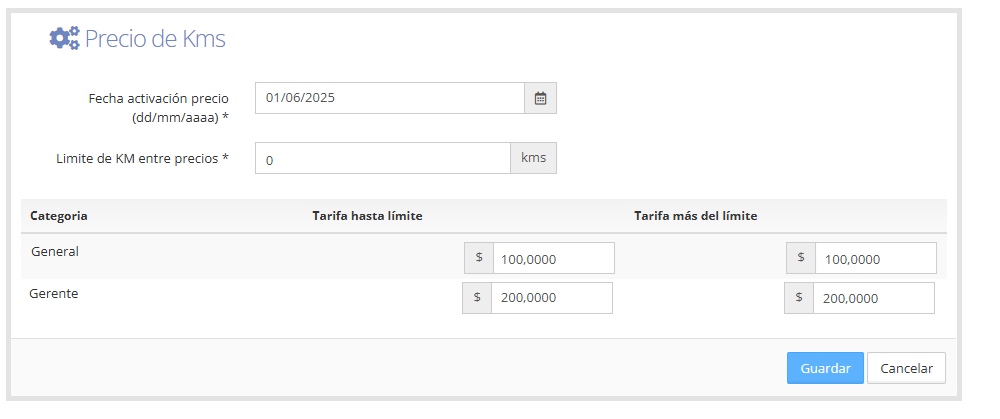
we'll see the categories that were previously created available, with the following fields to complete, as shown in the following image.
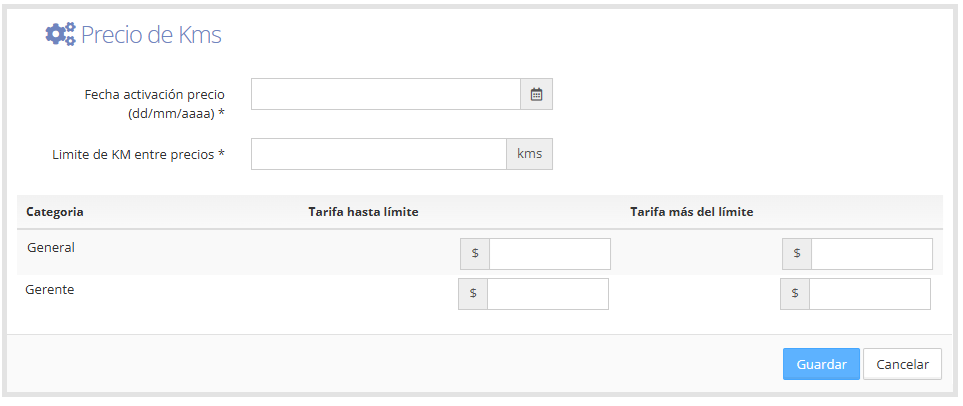
Price activation date: You must enter the activation date from which the new value will be in effect.
Km limit between prices:
This field allows you to define a cutoff point in the number of kilometers traveled by the user, after which a second rate will apply.
If you don't need to manage a second value, complete this field with "0" and assign the same amount in both rate fields, as shown below.
Once you finish and save the rates, the system will redirect us to the Km rate main screen, as shown in the following image.

Every time you want to change the price per km, you must create a new record from the icon

When you create a new price, a history is kept, and this way the rate in effect at the time the trip was made will be used. Otherwise, the last value will be used and there will be no price history.
Additionally, on the right side of each loaded rate, you'll find the following icons:
Edit

allows you to modify the previously entered information.
Delete

allows you to delete the corresponding record.