GL Account: to access GL Account, go to Admin > GL Account.
To register GL Accounts, click on the icon

located in the upper right corner of the screen, as shown in the following image:
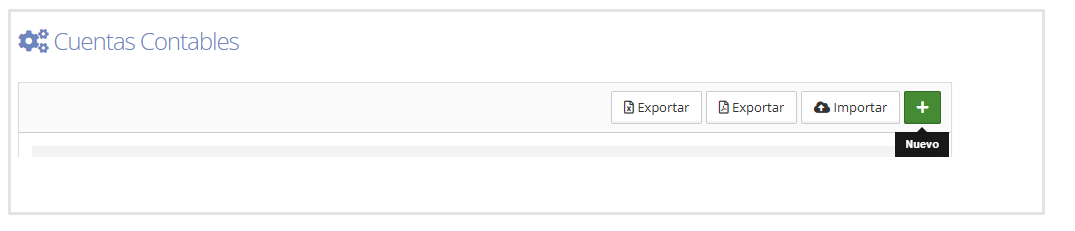
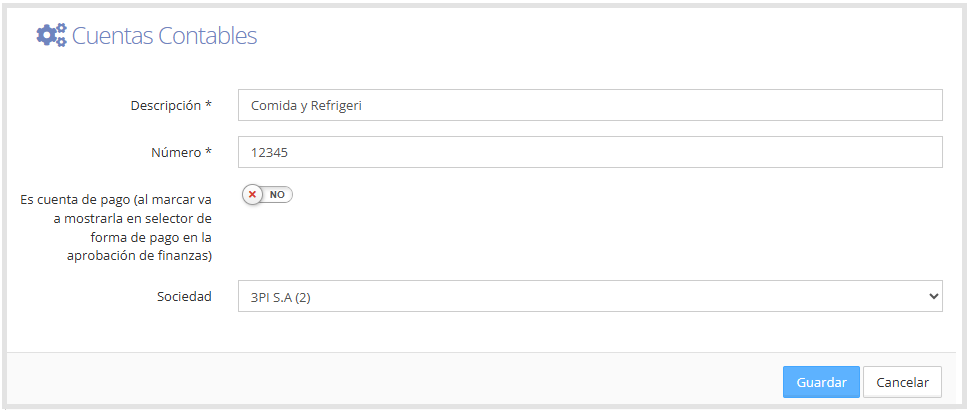
Clicking on the (+) icon will open the following screen to complete the GL Account data.
The required fields, identified with an asterisk (*), must be completed. The account number cannot be repeated, since each account must be unique.
If you enable the "Is payment account" option, a payment method selector will be shown during approval by Finance, and the account will be used as the payment method in that process.
If you need to parameterize the company, select it from the corresponding field.
Once the GL Account is saved, the system will take us to the GL Account screen, where we'll see the accounts we've loaded in list form, with the option to edit or delete them. The icons are located on the right side of each GL Account, as shown below.
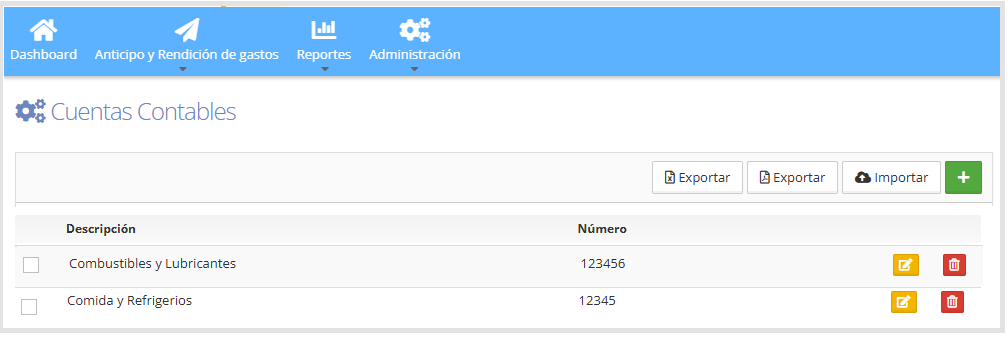
In the upper right corner of the screen, you'll find a series of buttons that let you perform different actions.
Export: downloads the GL Account report in Excel or PDF format.
Import: lets you upload the GL Accounts from a file in Excel (.xlsx) format.
Clicking this button opens a window where you can:
Select the file to import from your computer.
Download the corresponding template file from T&E Express.
Confirm the upload with the Import button or cancel it.
On the right side of each GL Account, you'll find the following icons:
Edit

allows you to edit the GL Accounts.
Delete

allows you to delete the GL Account.
Note: When a user creates an expense in an expense report, they won't select the GL Account but rather a category that is related to the GL Account.
For more information on how to register Categories, access the [Categories](Con
ceptos) instructions guide.