Petty Cash: To access Petty Cash, go to Admin > Petty Cash.
When you enter, the following screen will be shown.
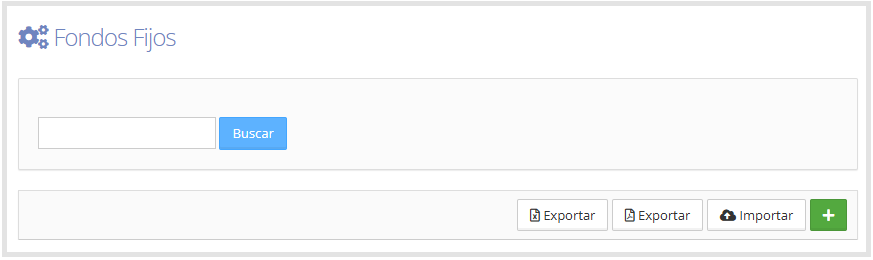
To create petty cash funds, click the [+] icon

located on the right side of the screen.
You must complete at least the required fields marked with (*); each field is detailed below.
Name: Name that identifies the petty cash fund.

Code: Internal code used as the identifier for the petty cash fund.

Amount: Amount assigned to the petty cash fund. You must select the currency and then enter the corresponding amount.

Identify first payment in ERP as migration: This field must be enabled if the company has automatic integration with the ERP and this is a petty cash fund that currently exists but is not managed through T&E Express.

Do not replenish petty cash fund (When there's no more cash, the petty cash fund is deactivated): If this option is enabled, the petty cash fund is deactivated once the entire assigned amount has been used.

Hide Vouchers: If this option is enabled, the petty cash fund custodian won't be able to enter vouchers and the box below will no longer be visible.
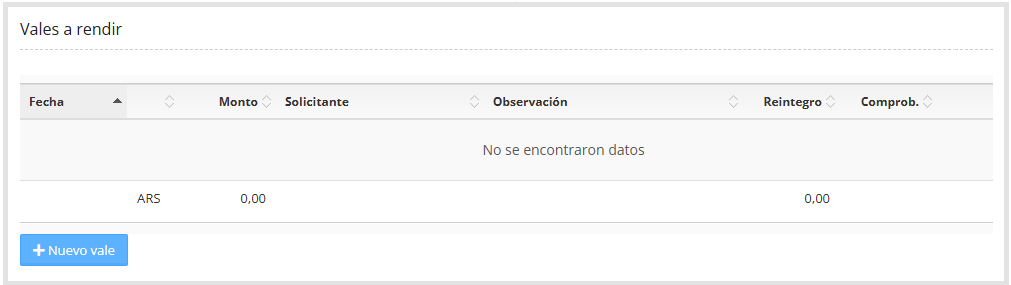

Minimum amount percentage to report: This field is used to notify the custodian that they need to report the petty cash fund in order to request replenishment. It doesn't require or block its use.

Department: Department the petty cash fund belongs to.

Costs Center: Costs Center that will be associated with the petty cash fund.

Can report expenses to other cost centers: If enabled, a selector will appear on the expense form so the petty cash fund custodian can choose from other available cost centers.

As shown in the image below:

If Allocations has been configured and the option Can report expenses to other cost centers is enabled, the cost center selector will no longer be shown as a separate field. The cost center selection will be made within the Allocations section, in the expense form.
As shown in the image below.

For more information on configuring Allocations, see the guide Allocations.
Categories Limit by expense category: Allows assigning a limit category to the petty cash fund, to restrict the amounts that can be reported per category and limit the visible categories when entering expenses in expense reports linked to that fund. If the allowed amount is exceeded, a justification will be requested in the expense form.

As shown below:

Categories Limit by category per day: The per-day limit category is assigned to the petty cash fund to restrict the total daily amount that can be reported for a category. If the limit is exceeded, an icon will be shown with the excess amount detail, along with an alert indicating that the allowed daily limit has been exceeded.
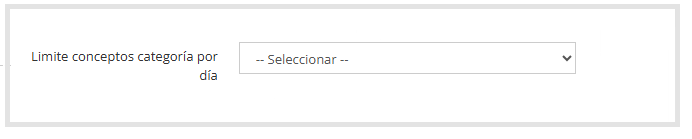
As shown below.
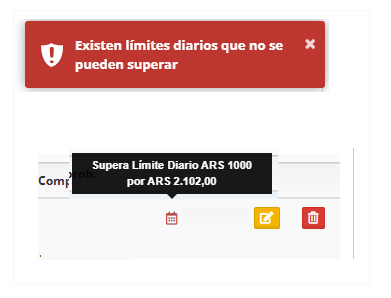
For more information on category limits, see the guide Categories Limits.
Company: Select the company the petty cash fund belongs to.

Internal vendor no.: Internal vendor code used in the ERP to link the petty cash fund's transactions.

Reports kilometers: If the kilometers configuration has already been set up, this option lets you enable the petty cash fund to be used for kilometer expense reports. Once enabled, the monthly estimate field must be completed and the corresponding category selected.
For more information on the general kilometers configuration, see the guide Km rate.
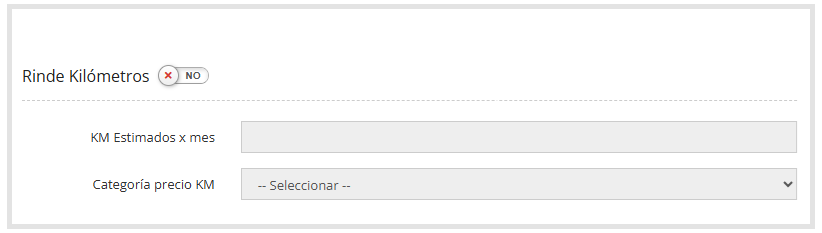
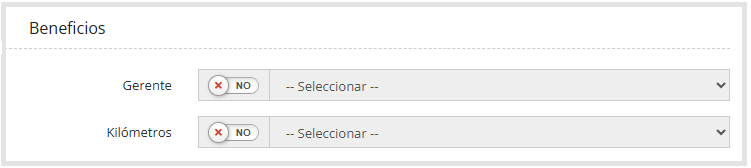
Benefits: If there are benefits created, enabling this setting allows the petty cash fund to report using the assigned benefit(s).
For more information, see the guide Benefits, which explains how to set up this configuration.
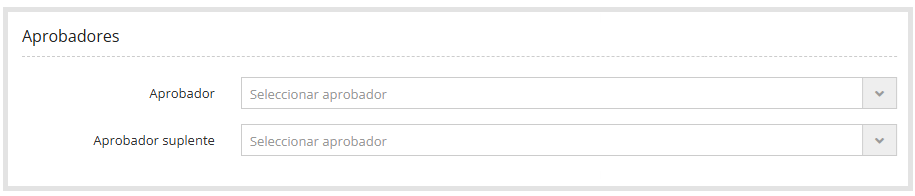
Approvers: You can assign a primary approver and an alternate. Both will be able to approve, but only the primary approver will receive notifications by default. The alternate will start receiving them once the primary approver enables the "Out of Office" option.
Custodian: Person who will manage the petty cash fund in the system. This is the person who creates the expense reports and can view the fund's transactions.
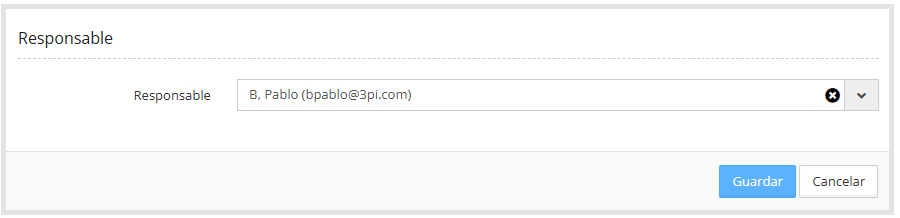
Once you finish entering the information, click Save. The system will redirect you to the Petty Cash screen, where the list of created funds will be shown, as shown below.
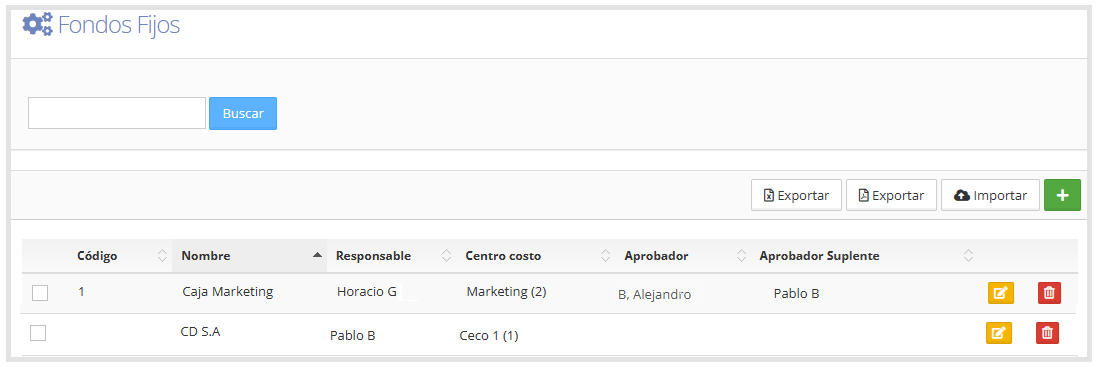
In the upper left corner, you'll find the search box, which lets you search for a specific Petty Cash fund.
In the upper right corner of the screen, you'll find a series of buttons that let you perform different actions.
Export: downloads the Petty Cash information in Excel or PDF format.
Import: lets you upload data from an Excel file (.xlsx).
Clicking this button opens a window where you can:
Select the file to import from your computer.
Download the corresponding template file from T&E Express.
Confirm the upload with the Import button, or cancel it.
On the right side of each Petty Cash fund, we'll find the following icons:
Edit

Allows editing the Petty Cash fund's information.
Delete

Allows deleting a specific Petty Cash fund.
Deleting a petty cash fund does not delete any expense report from its history.
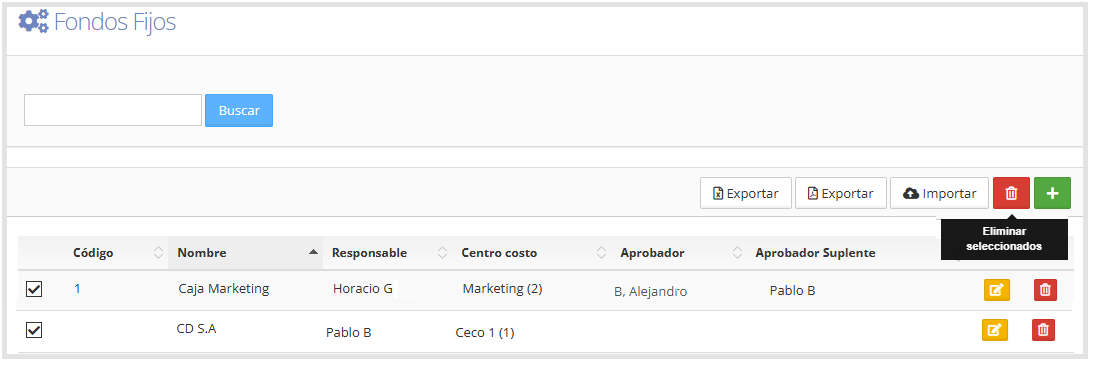
If you need to delete more than one Petty Cash fund, you can do so in bulk:
Check the boxes to the left of the Petty Cash funds.
Once you select at least one, the Delete icon will be enabled in the upper right corner of the screen.
As shown below.
For information related to increasing or decreasing a Petty Cash fund, see the guide Petty Cash Increase or Decrease.