From the Expense Reports History screen you will be able to quickly and visually track all your expense reports and identify the status of each one.
You will also be able to view the expense reports you approved from other users and, depending on your profile, all expense reports in the company.
For more information on how to create expense reports, refer to the Creat expense report guide.
Expense Reports History: Go to Travel & Expenses "T&E" > Expense Reports > Expense Reports List.
From this screen you will see all your expense reports with their respective statuses.
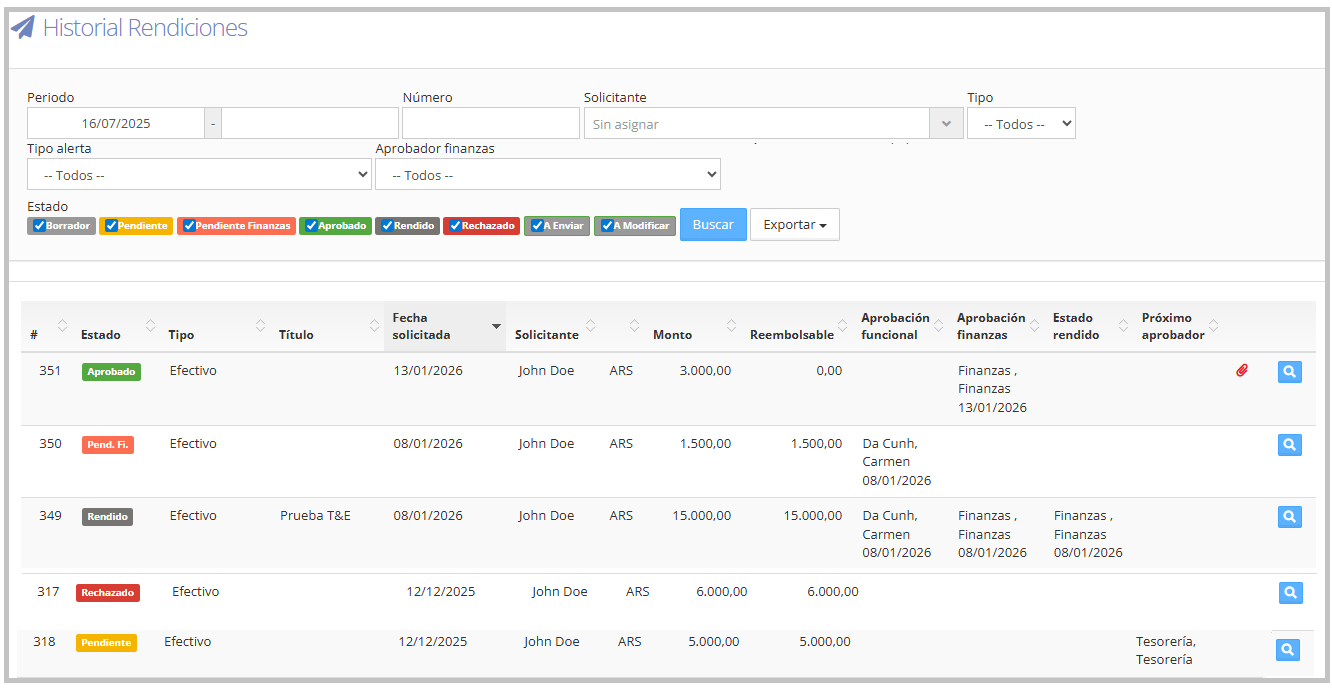
Filters: At the top you will find different options to filter, search, and export the information you need:
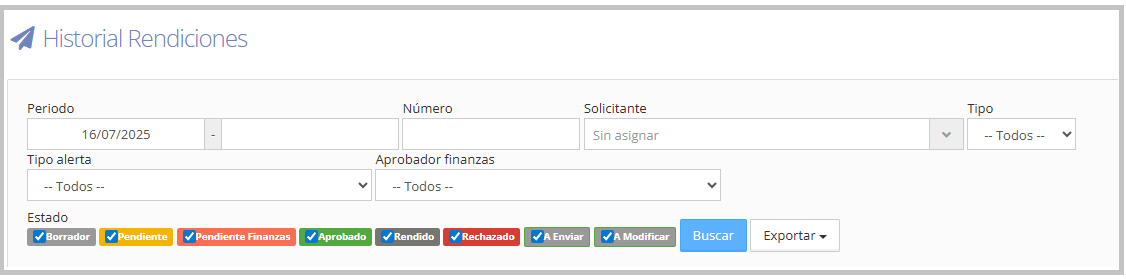
Period: select the date range to view expense reports corresponding to that interval.
Expense report number: search for a specific expense report by entering its number.
Requester: filter expense reports by the user who created them.
Type: select the expense report type: Cash, Corporate card, or Petty cash.
Alert type: filter expense reports that have specific alerts, such as personal expenses, limit exceeded, among others.
Finance approver: filter expense reports by the assigned Finance area approver.
Export: you have the option to export the expense report history to analyze or share it. You can generate files in different formats, such as Excel or PDF, depending on your needs.
To learn more about the different statuses, refer to the following guide. Statuses
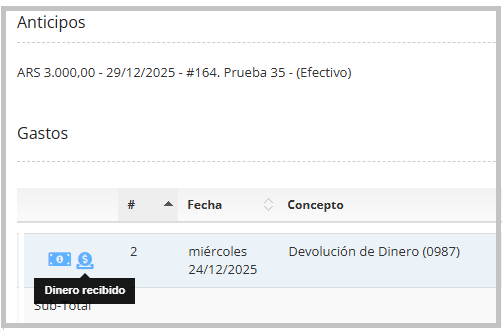
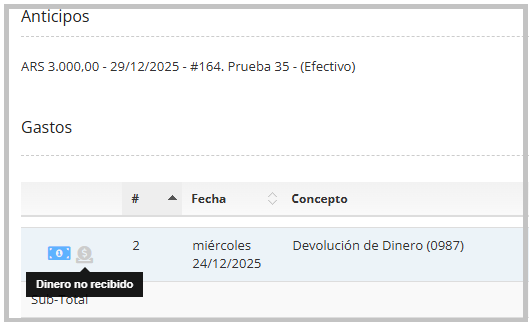
Expense reports with refunds: When an expense report has a cash refund or advance surplus, an icon will be displayed at the beginning of the line when accessing the expense report detail. This icon works as follows:
Grey: indicates that the money has not yet been received by Finance/Treasury.
Blue: the color changes once the Finance/Treasury team confirms receipt of the money.