Each benefit can include one or more categories and allows you to check whether a user exceeds the assigned limit, even when expenses are entered after the deadline.
Some companies implement benefits with monthly, annual, or quantity-based caps.
Examples of benefits:
Annual reimbursement for maintenance of the vehicle used for work tasks.
Monthly coverage for childcare expenses per child.
Monthly cap for gym membership.
Car wash up to twice a month (Directors).
Benefits: To access benefits, go to Admin > Benefits > Detail
To create a new benefit, click on the icon

located in the upper right corner of the screen, as shown in the following image:

When you click the (+) icon, the following screen will open to complete the benefit fields.
The required fields, identified with an asterisk (*), must be completed.
Benefit: enter the name of the benefit.
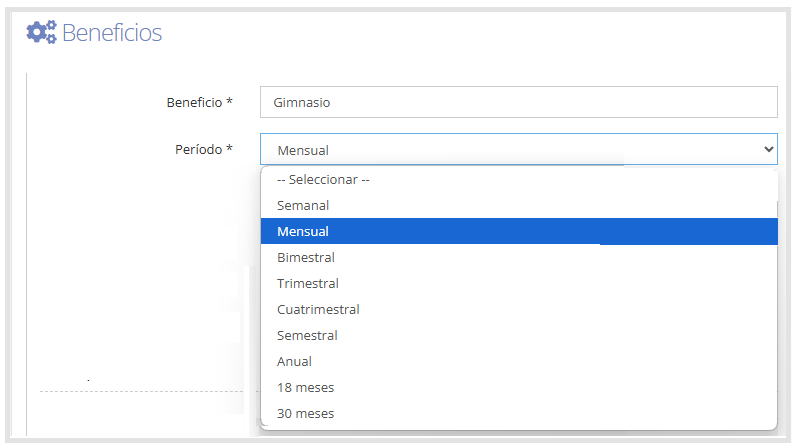
Period: from the available selector, we can select the period corresponding to the benefit.
Periods are calculated by calendar:
Weekly: from Monday
Monthly: from the 1st of the month
Annual: from January
As shown in the following screen:
No approval: if enabled, and an expense report contains only expenses belonging to this benefit, functional approval will not be required, but approval from the cost center manager, category owner, and finance will still be required.

Accepts Higher Quantity/Amount: if enabled, the expense report can be submitted even if the quantity or total amount exceeds the assigned cap. Otherwise, submission of the expense report will be blocked.

Accepts Lower Quantity/Amount: if enabled, the expense report can be submitted even if the quantity or total amount doesn't reach the cap. Otherwise, submission of the expense report will be blocked.
This option is used, for example, when the company covers employee commuting expenses and requires that the full Quantity/Amount always be reported.

Block Previous Periods: if enabled, the system will only allow expenses to be entered for the current period. It will no longer be possible to enter expenses for a previous period.

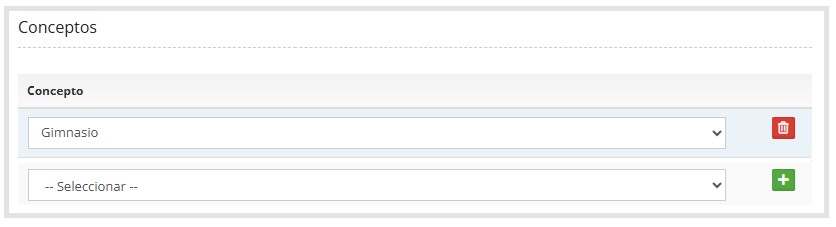
Categories: from the available selector, we can select the Category/Categories that will be taken into account when calculating whether it's within the cap, as shown below.
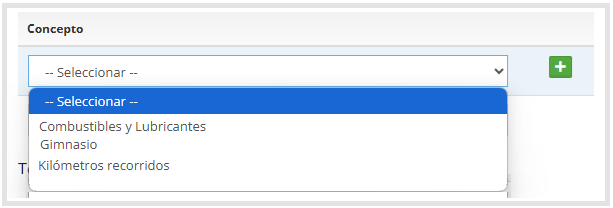
Click the button

to add the selected category.
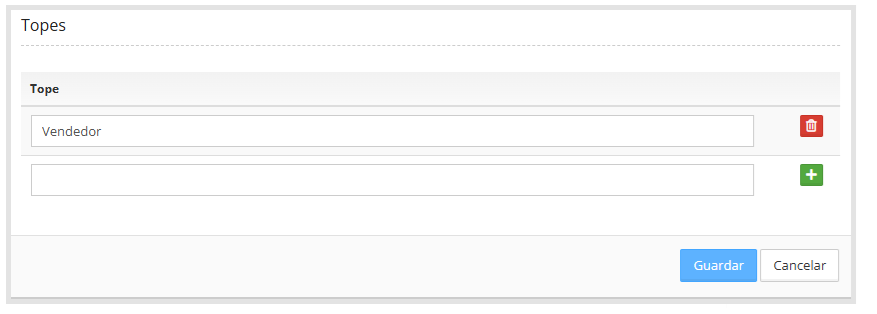
Caps: in this section you must enter the different cap categories that will be assigned to users, as shown below.
For more information on how to assign benefits to users, access the Users guide.
Click the button

to add.
Once the benefit has been created, you must assign the caps by category, completing the quantity and/or amount fields, as applicable.
To access this configuration, go to: Admin > Benefits > Caps
When you enter, the following screen will be displayed:

From the available selector, you'll see the cap categories that were previously created.
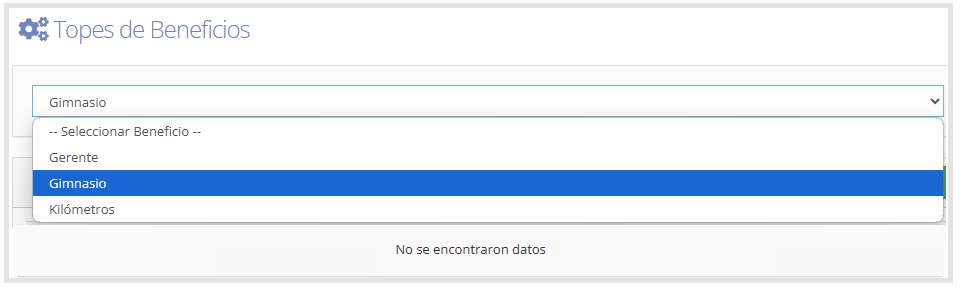
After selecting the corresponding category, click the icon

located on the right side, where we'll see the following fields to complete, as shown in the following image.
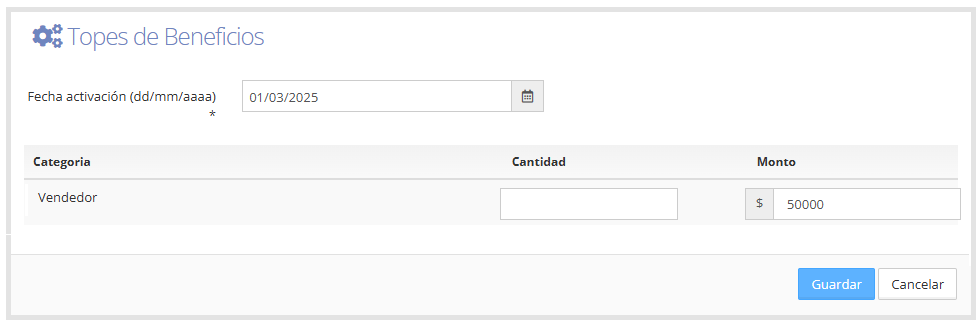
Activation date (dd/mm/yyyy): you must enter the activation date, which indicates from when that cap takes effect.
Every time the value of a cap changes (whether the quantity, the amount, or both), a new record must be entered with the new activation date.
This allows a history of caps to be kept. If a record is modified instead of creating a new one, users will be able to enter a higher quantity in previous periods.
Quantity: maximum number of allowed uses of the benefit in the selected period.
Amount: allowed limit for that category in the selected period.
Upon saving, the system will redirect to the Benefit Caps home screen, as shown below:
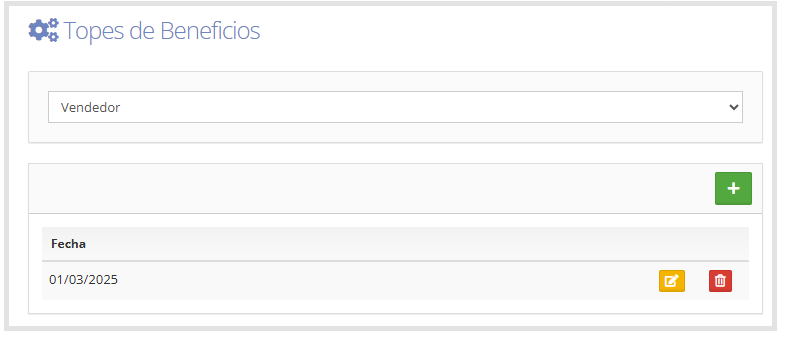
On this screen, in addition to viewing the activation date of the caps, you can also perform the following action: Edit or Delete.