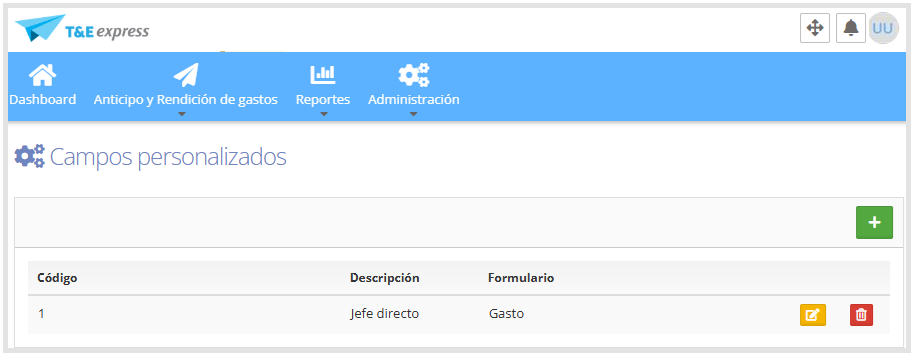
Custom Fields: To access, go to Admin > Custom Field, where we'll see the following screen:
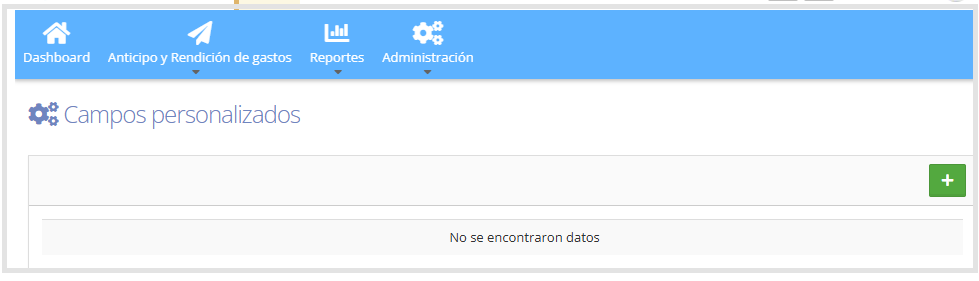
To create custom fields, click the + button, where we'll see the following screen, which we must complete with the required fields, identified with (*).
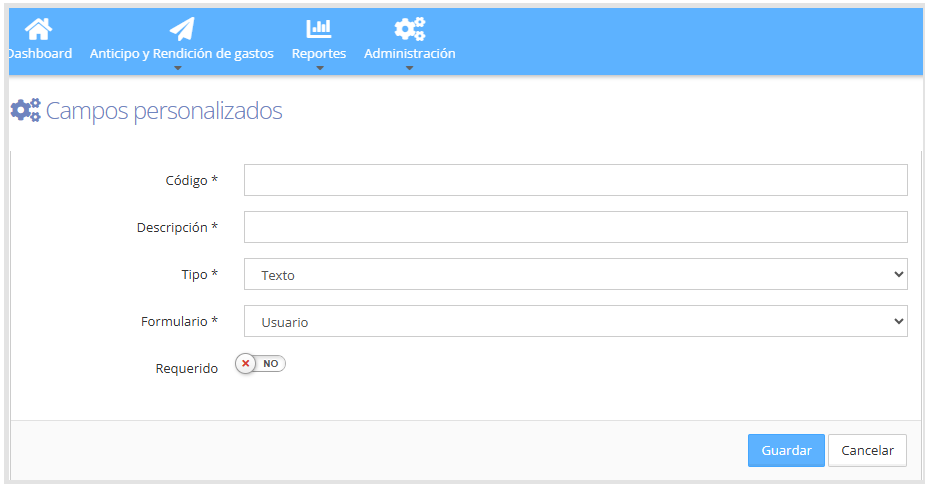
The fields are detailed below:
Code: Internal code to be defined by the company.
Description: Name used to identify this field.
Type: This field allows you to define the format of the data to be entered.
You can select from the following types:
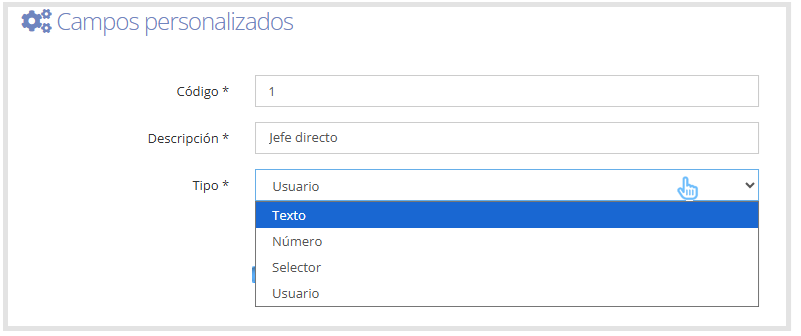
Text: The field must be completed manually with text.
Number: Allows entering only numeric values. Validates that the data is a number.
User: Adds additional data to users.
Selector: When this option is selected, a section called "Selector Options" will be enabled, as shown below.
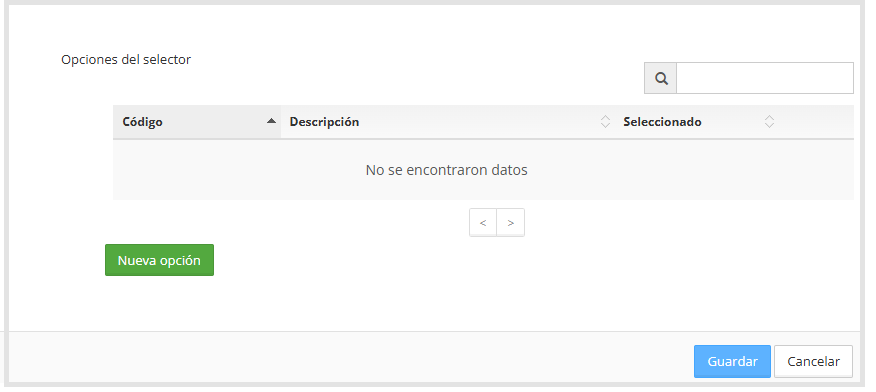
When you click "New option," you must complete the following fields:
Code
Description
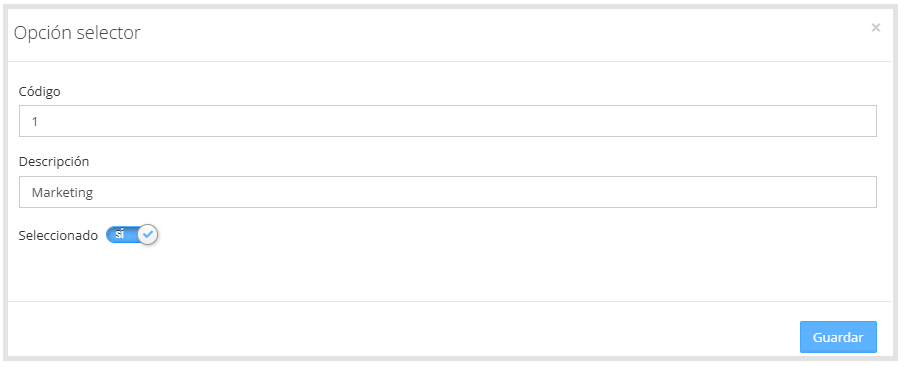
If Selected is enabled, this option will be shown by default in the dropdown field.
When finished, click Save.
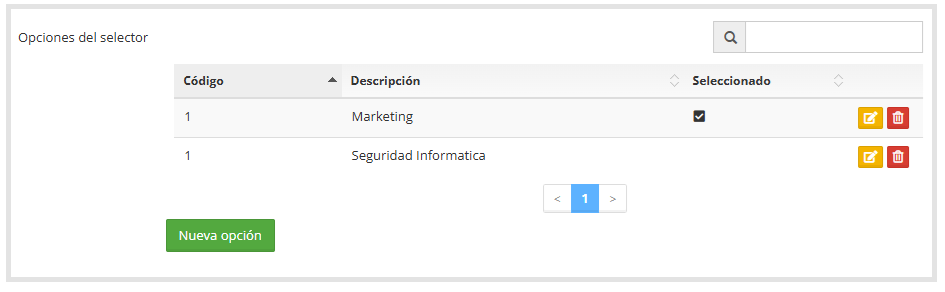
The created selector options will be displayed, with the option to edit or delete them, as shown below.
Form: From the selector we can indicate where the field will be displayed.
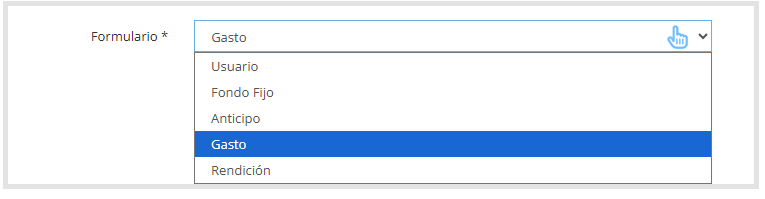
Expense: The field will be shown within the expense form.
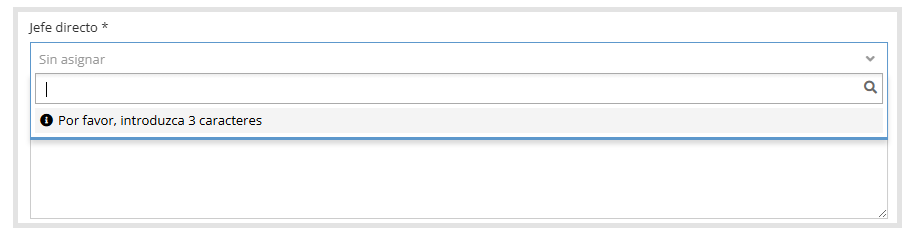
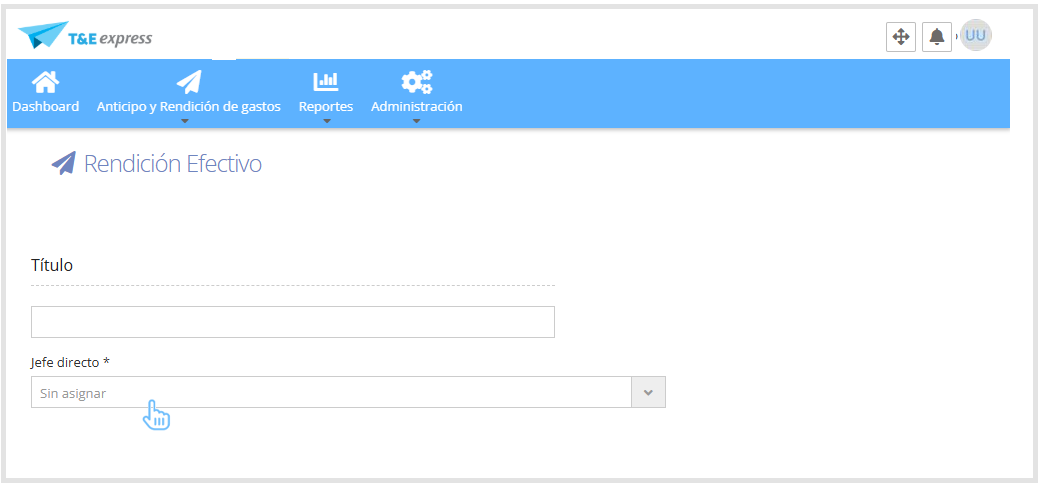
Expense Report: The field will be shown in the expense report header.
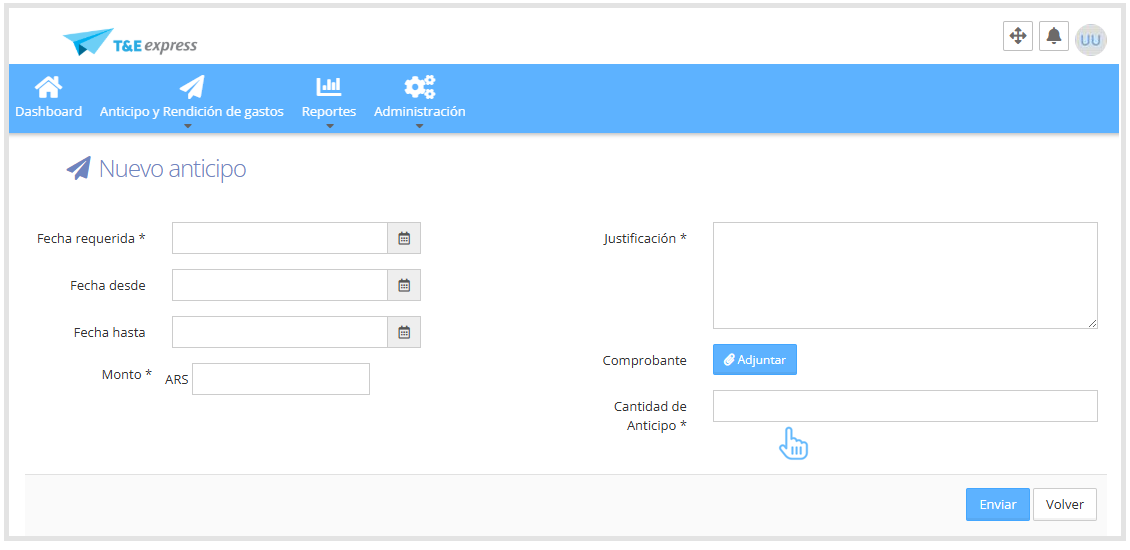
Cash Advance: The field will be shown when submitting a cash advance request.
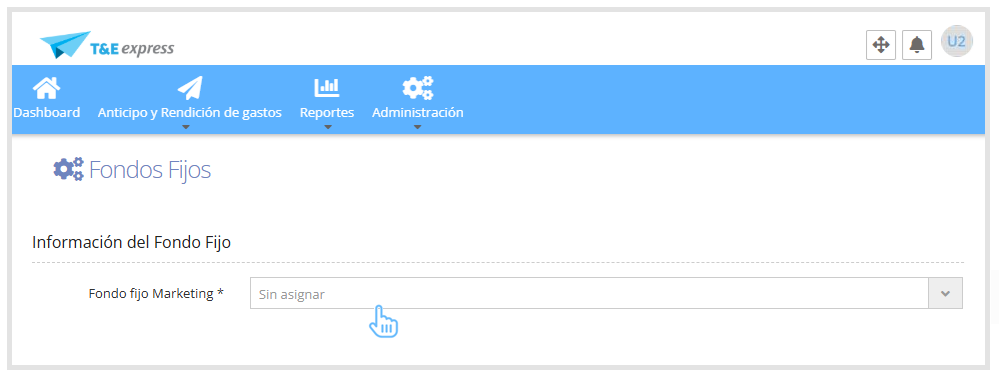
Petty Cash: The field will be shown in Admin > Petty Cash.
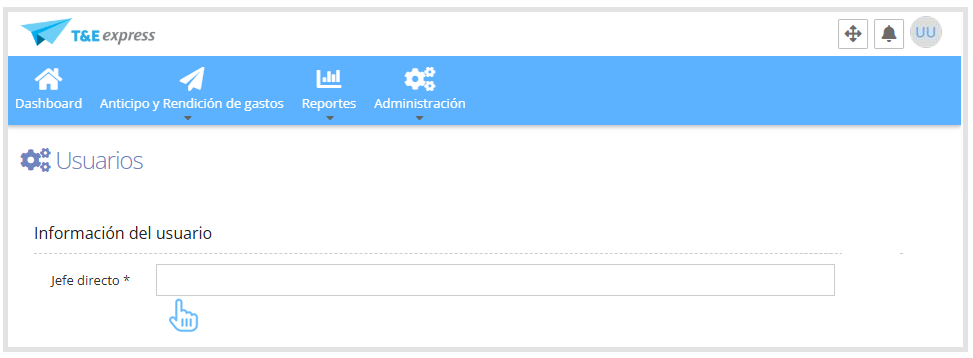
User: It will be shown in the user form, Admin > Users.
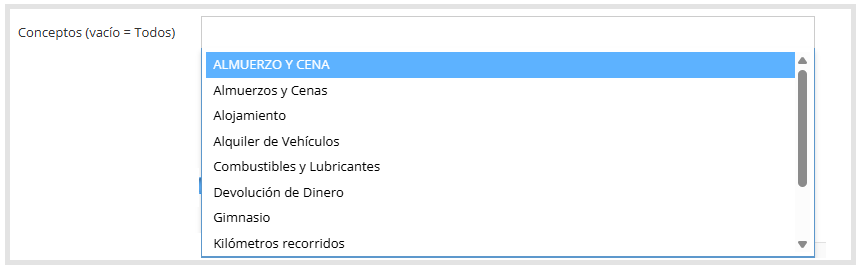
Categories: If the field is set to display in the Expense form, you can define the categories in which it must be completed.
If no category is selected, the field will be visible for all categories.
Expense report types: Allows you to select in which type of expense report the custom field will be displayed.
Cash
Corporate card
Petty cash

Required: If this option is enabled, the custom field will be mandatory and must be completed to continue.

Once the information is complete, click "Save", located in the lower right corner of the screen.
The system will redirect us to the Custom Fields home screen, where we'll see the fields that were created and which forms they appear in.
From this screen, you can edit or delete using the icons located on the right side of each created field, as shown below.