Projects: To access Projects, go to Admin > Projects.
When you enter, the following screen will be displayed.
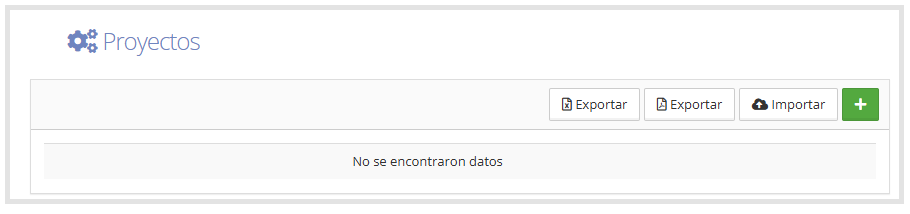
To create a new project, click on the icon

located on the right side of the screen.
The field where you must enter the project name will then appear, as shown in the following image:
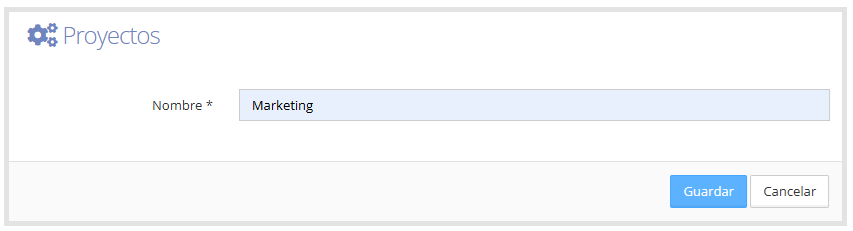
Once you click Save, the system will redirect you to the Projects screen, where you'll see the projects that were created, as shown below.
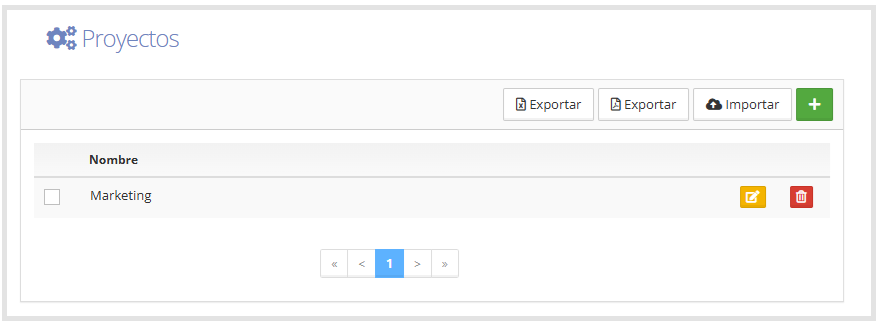
In the upper right corner of the screen, you'll find a series of buttons that let you perform different actions.
Export: downloads the Projects information created in Excel or PDF format.
Import: lets you upload a file in Excel (.xlsx) format.
Clicking this button opens a window where you can:
Select the file to import from your computer.
Download the corresponding template file from T&E Express.
Confirm the upload with the Import button or cancel it.
On the right side of each project, we'll find the following icons:
Edit

allows you to edit the project name.
Delete

deletes the created project.
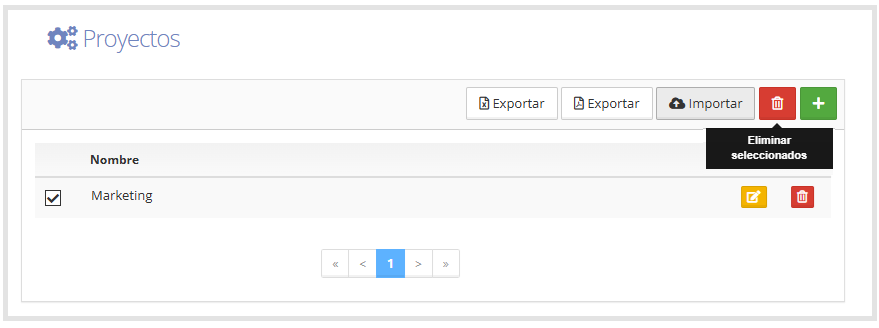
If you need to delete more than one Project, you can do it in bulk:
Check the boxes to the left of the Projects.
Once you select at least one, the Delete icon will be enabled in the upper right corner of the screen.
As shown below
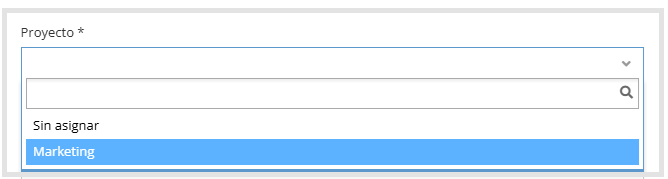
Project field in the expense form: The Project field will be available in the expense form as long as there is at least one project created.
This field is required and must be completed in order to proceed with the expense report.
You can select one of the available projects using the selector, or, if the expense doesn't correspond to any project, choose the "Unassigned" option, as shown below:
If you leave the field blank, the system will display an alert indicating that there is a field to complete and will not allow you to continue with the expense report, as shown in the following image.