
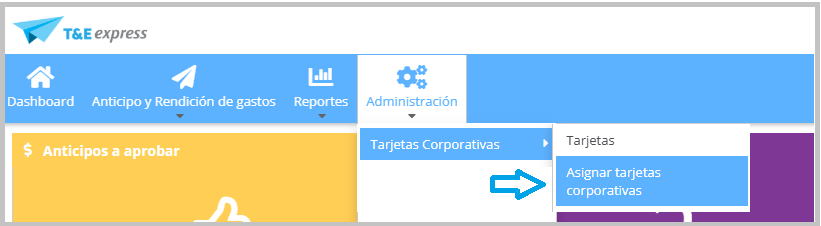
Assign Corporate Cards: To assign corporate cards, go to: Admin > Corporate Cards > Assign Corporate Cards.
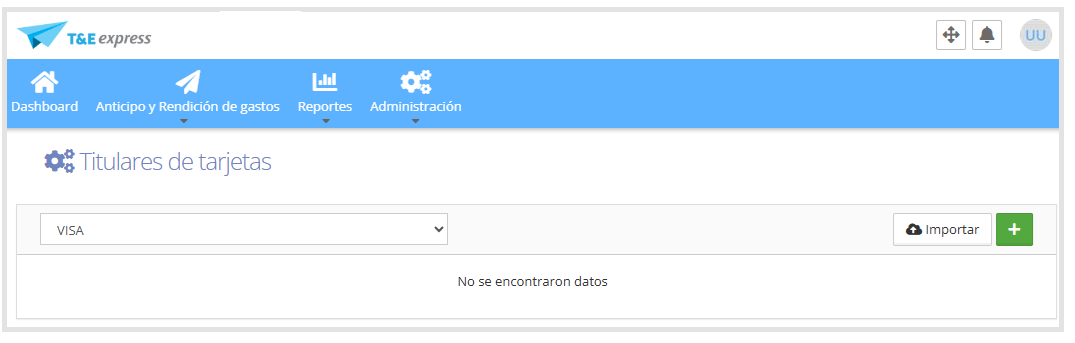
When you enter, you'll see the following screen:
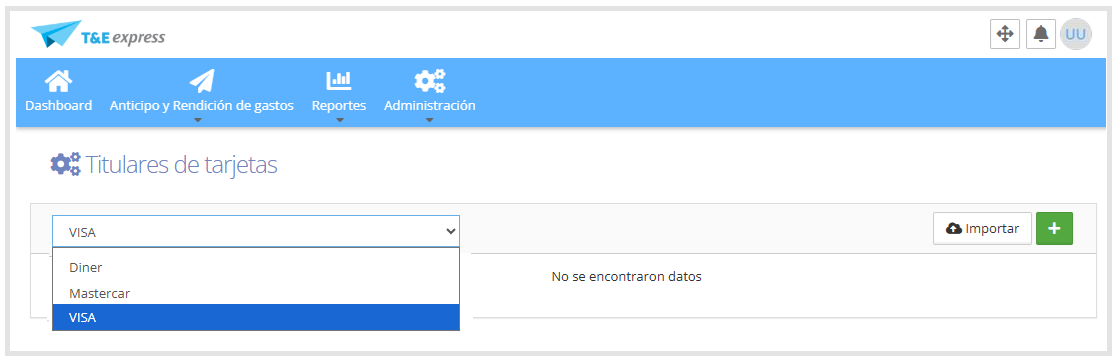
If there is more than one corporate card registered, expanding the selector will show all available cards, as shown below:
Select the corporate card and click the + button.
Once inside, you must fill in the following required fields, marked with (*).
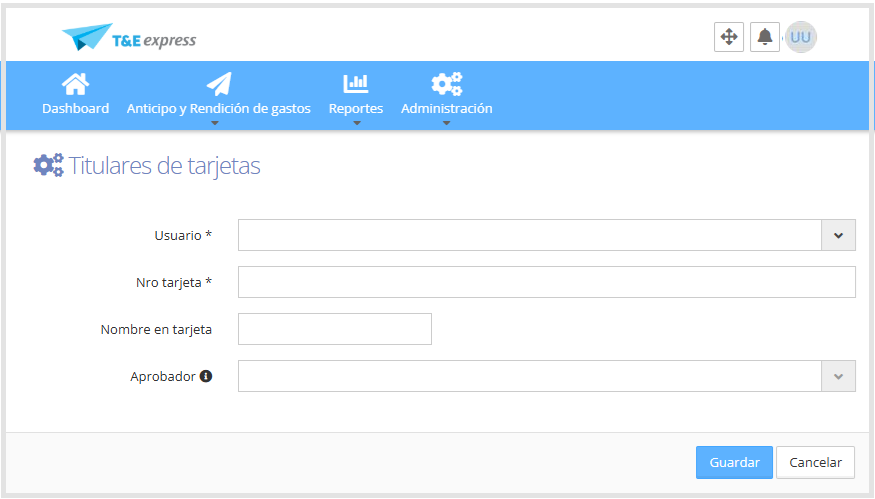
User: Select the user the card will be assigned to.
Card number: Enter the corresponding corporate card number.
If a card has charges imported automatically and is not yet linked to a user, the system will show it in a list of unassigned cards. You must select the card and assign it to the corresponding user so the charges are recorded correctly.Name on card: Name that appears on the card. This field is needed when the card number doesn't contain all the digits, or when the import file has the card number masked. This allows the charge to be correctly assigned to the corresponding person.
Approver: If a specific approver is required for this card, select one.
If no approver is defined, the approval workflow already defined for the user in the system will apply.
Once you finish entering the data, click Save. The system will redirect you to the Card Assignment screen, where you'll see the information entered, as shown in the image below.
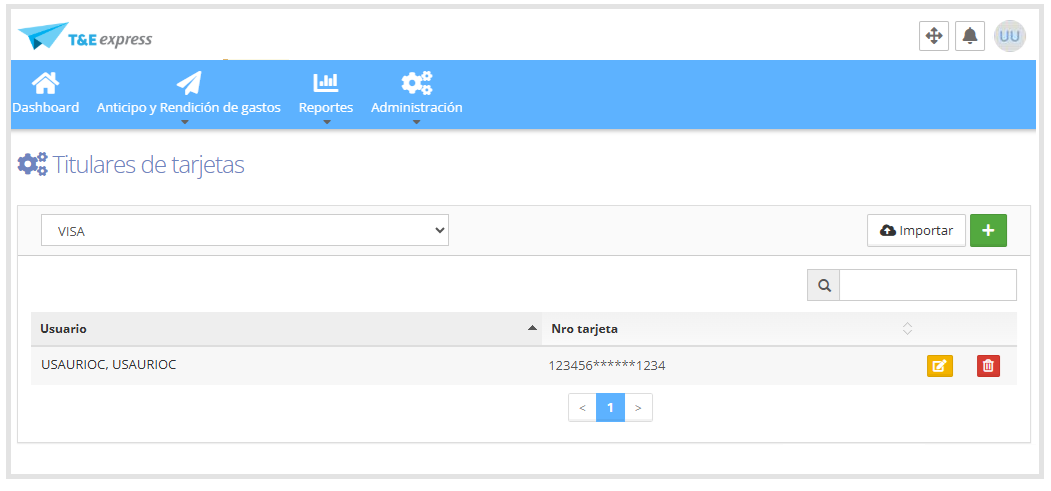
From this screen, you can perform the following actions.
Import: Lets you upload card assignments from an Excel file (.xlsx).
Clicking this button opens a window where you can:
Select the file to import from your computer.
Download the corresponding template file from T&E Express.
Confirm the upload with the Import button, or cancel it.
+ Button: Create a new user and link a corporate card.
Edit

Allows editing the name on card or the assigned approver.
If you need to change the corporate card number, you must delete the record and create it again.
Delete

Allows deleting the card assignment record.