
Allocations: To access Allocations, go to Admin > Allocations.
To create allocations, click the icon

located in the upper right corner of the screen, as shown in the image below.

Clicking the (+) icon will open the following screen to create the Allocation. The required fields, marked with an asterisk (*), must be completed.
In the Code field, enter the identifier that will be used to reference the allocation in the ERP integration, as shown in the image below.
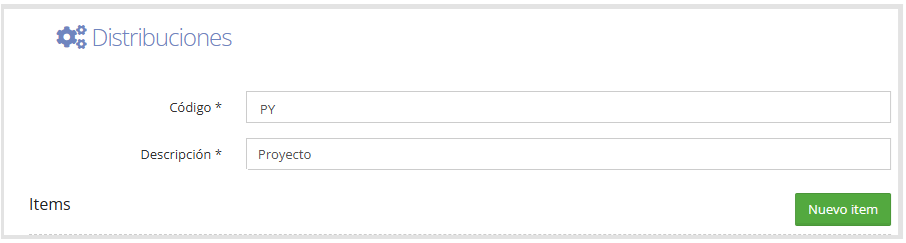
New item: click on the button below

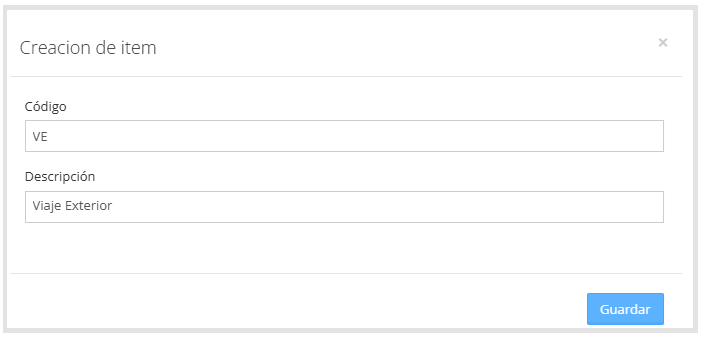
to start creating the new items that will be part of this Allocation. A pop-up window will open where you need to fill in Code and Description. Click Save to add the item, as shown in the image below.
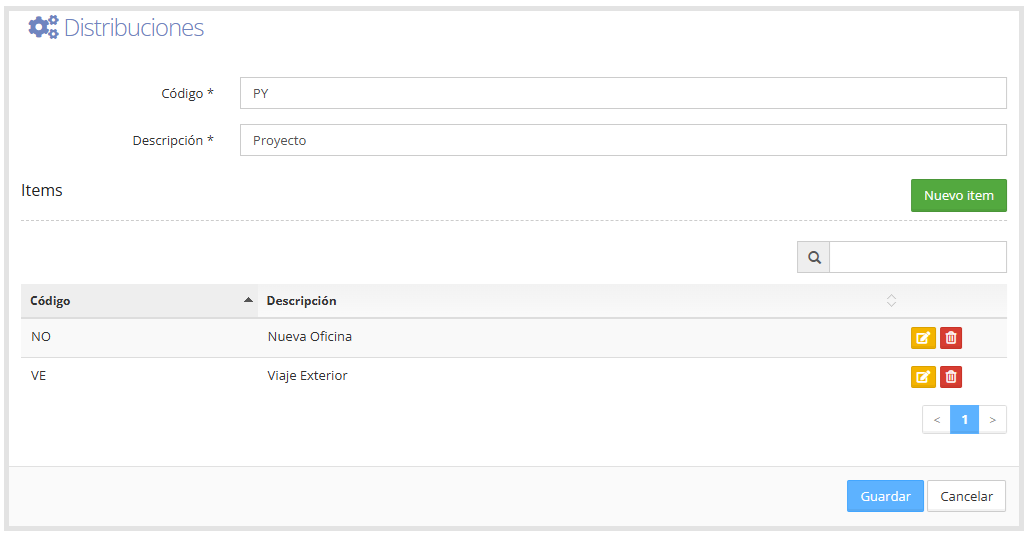
The items will appear in a list, from where they can be edited or deleted, as shown below.
When you finish entering the data and save, the system will redirect you to the Allocations screen, where you'll see the created projects, as shown in the image below.
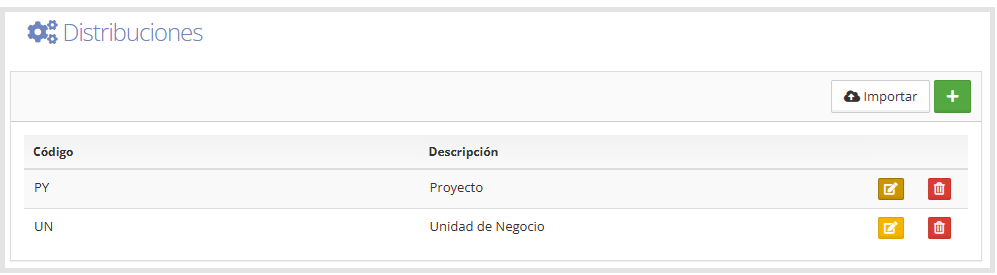
On this screen, you can perform the following actions.
Import: lets you upload data from an Excel file (.xlsx).
Clicking this button opens a window where you can:
Select the file to import from your computer.
Download the corresponding template file from T&E Express.
Confirm the upload with the Import button, or cancel it.
On the right side of each Allocation, we have the following icons:
Edit

Allows editing the allocations.
Delete

Allows deleting the allocations.